Just Landed in Chile? Your First-Week Setup Checklist
After arriving in Chile, focus on confirming your visa status, securing cash and a local SIM, registering your address, setting up a bank account, arranging temporary housing, learning key Spanish phrases, and connecting with expat networks—all within the first seven days.
Quick answer
After arriving in Chile, focus on confirming your visa status, securing cash and a local SIM, registering your address, setting up a bank account, arranging temporary housing, learning key Spanish phrases, and connecting with expat networks—all within the first seven days.
What to Do the Moment You Step Out of the Airport
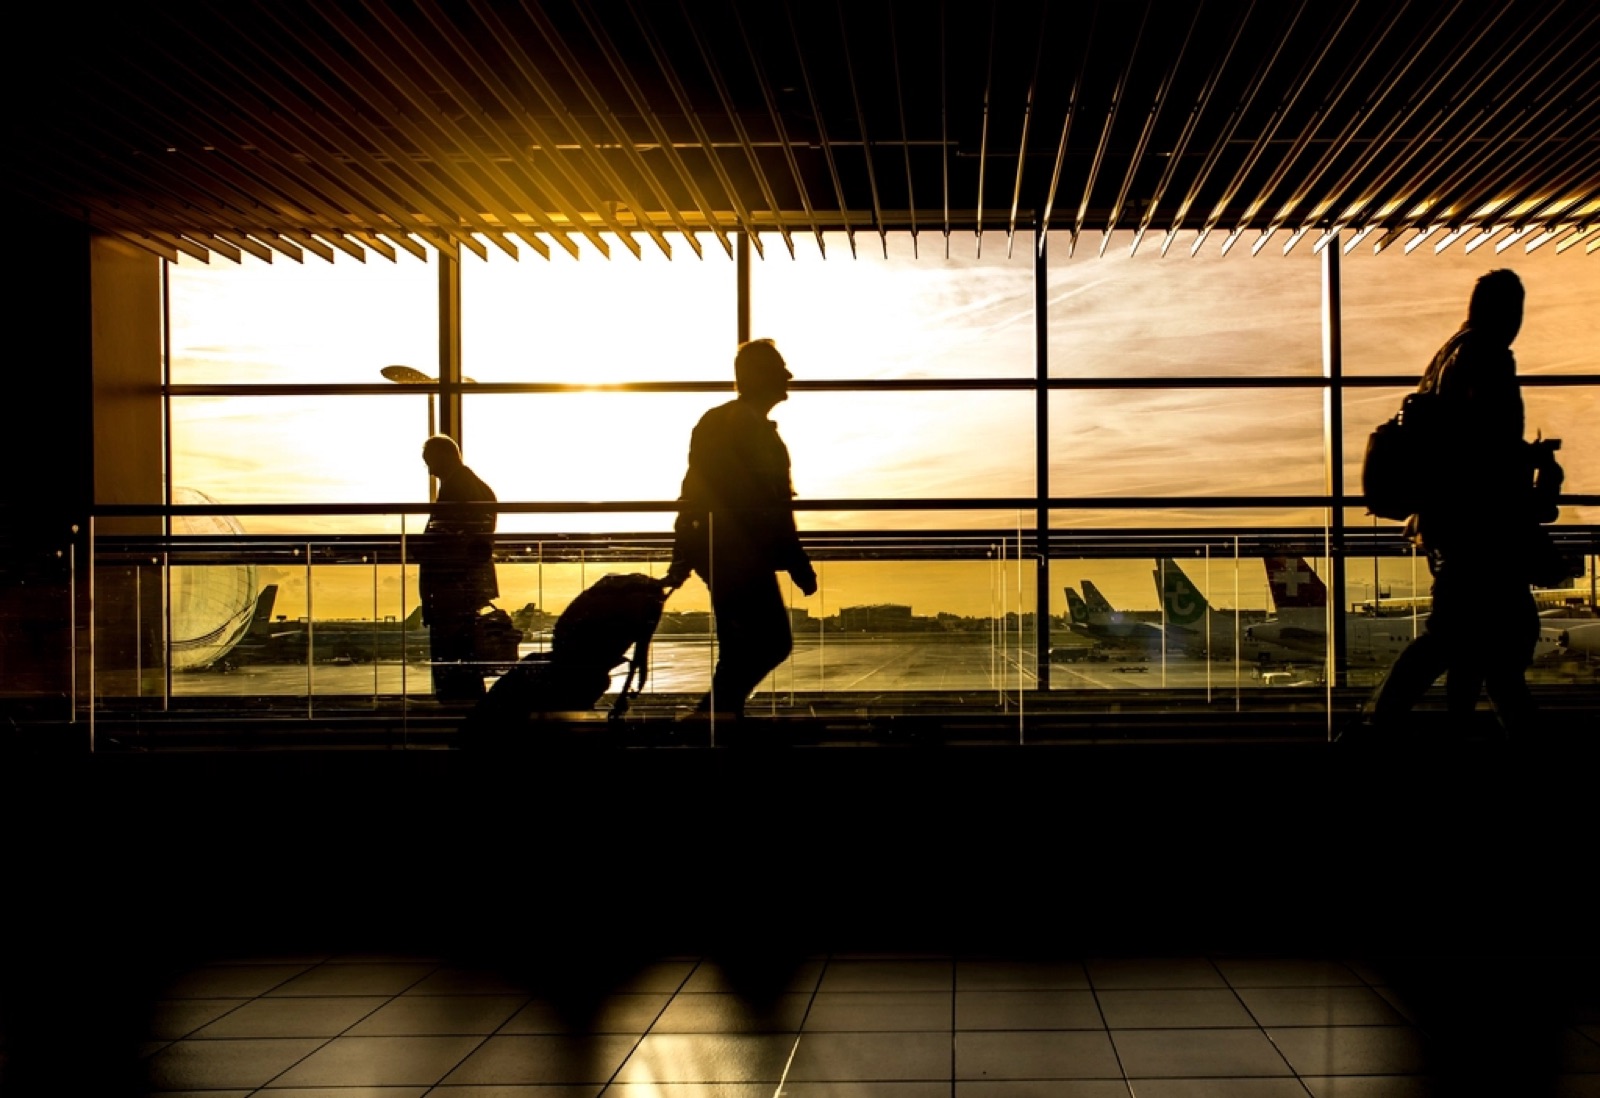
When you exit Santiago's Arturo Merino Benítez Airport, the first priority is to locate the official immigration checkpoint. Even if you have a tourist visa, keep your passport, entry stamp, and any supporting documents handy. Chilean officials typically ask for the purpose of your stay and a return ticket, so having a clear, concise answer speeds the process and reduces stress.
After clearing immigration, head to the arrivals hall and locate the official currency exchange booths or ATMs. The Chilean peso (CLP) is the legal tender, and while many merchants accept credit cards, having some cash is essential for small vendors, taxis, and tipping. Withdraw a modest amount—enough for transport and a simple meal—while you arrange longer‑term banking solutions later in the week.
Next, locate the official information desks or the “Welcome Center” that offers free city maps and basic tourist assistance. These resources often include multilingual staff who can confirm the nearest public transport stops, emergency numbers, and the location of the nearest consulate if you need immediate diplomatic support.
Secure Your Legal Stay: Visa Check and Registration
Chile offers several visa categories—tourist, work, student, and digital nomad—each with distinct renewal timelines. Within the first 48 hours, verify that the visa stamped on your passport matches the purpose of your move. If you entered on a tourist visa but intend to work, you must initiate the appropriate change of status before the 90‑day limit expires.
The Chilean government requires foreigners to register their address at the local municipal office (Servicio de Registro Civil e Identificación) within 30 days. This registration, known as “declaración de domicilio,” is essential for tax identification (RUT) and for receiving official correspondence. Bring your passport, visa page, and a rental contract or a friend's invitation letter to simplify the process.
Because immigration law can be nuanced, SettleBuddy’s Visa AI module can walk you through the exact documentation needed for each visa type, generate a personalized checklist, and flag deadlines. While the tool offers guidance, always confirm final steps with a licensed immigration attorney or the nearest Chilean consulate for legally binding advice.
Set Up a Chilean Bank Account and Mobile Phone
Opening a bank account in Chile typically requires a valid RUT (tax ID), proof of address, and a passport. Major banks such as Banco de Chile, Banco Estado, and Santander offer English‑speaking staff at larger branches. Schedule an appointment early in the week to avoid long queues, and bring a copy of your rental agreement or a utility bill as address proof.
For day‑to‑day transactions, consider a prepaid SIM from providers like Movistar, Entel, or Claro. Purchase a SIM at the airport or a nearby retail outlet, then activate it with your passport. Most plans include a generous data allowance, which is crucial for using SettleBuddy’s Housing AI and Career AI tools while you settle in.
Linking your new bank account to a digital wallet (e.g., Apple Pay or Google Pay) can streamline payments for rides, groceries, and online services. SettleBuddy’s integrated financial dashboard can help you monitor expenses, convert currency, and set budget alerts, keeping your finances transparent during the relocation transition.
Find Temporary Housing and Plan Your Long‑Term Home
During the first week, aim for a short‑term rental—such as a serviced apartment, Airbnb, or a “hostal”—that offers flexible cancellation. This gives you breathing room to explore neighborhoods, gauge commute times, and assess safety before committing to a lease. Prioritize areas with good public‑transport links like Providencia, Ñuñoa, or Las Condes.
When you’ve identified a preferred district, use SettleBuddy’s Housing AI to filter listings by price, proximity to schools or offices, and pet‑friendly policies. The tool aggregates listings from local portals, validates landlord legitimacy, and even suggests a negotiation script tailored to Chilean rental customs, saving you time and reducing the risk of scams.
If you decide to sign a longer lease, remember that Chilean rental contracts typically require a deposit equivalent to one month’s rent and a “guarantía” (guarantor) or a third‑party insurance. Read the contract carefully for clauses about early termination, utility responsibilities, and renewal terms before signing.
Navigate Public Transportation and Get a BIP Card
Santiago’s Metro system is the fastest way to traverse the city, covering 7 lines and over 130 stations. Purchase a reusable BIP card at any Metro station for 1,000 CLP and load it with credit for both subway and bus rides. The card also works on the Transantiago bus network, providing a seamless fare experience across modes.
For first‑time riders, download the official “Metro SCL” app or use SettleBuddy’s integrated route planner to see real‑time train frequencies, service alerts, and optimal transfer points. The app can also calculate the exact fare for each leg of your journey, ensuring you never overpay.
If you need to travel beyond the metropolitan area—perhaps to Valparaíso or the wine regions of Maipo Valley—consider the “Cercanías” commuter rail. Tickets can be bought at station kiosks or via the same BIP card, and schedules are posted online in both Spanish and English.
Start Learning Spanish with Language Lab
Even a basic command of Spanish dramatically improves daily interactions, from ordering a café latte to negotiating a lease. Language Lab, the dedicated language‑learning engine within SettleBuddy, offers 50 relocation‑focused lessons that teach essential phrases, cultural etiquette, and pronunciation tailored for the Chilean context.
Unlike generic language apps, Language Lab incorporates real‑world scenarios you’ll encounter in your first week—such as “How to ask for a receipt at a market” or “Explaining a medical symptom to a doctor.” Each lesson includes audio from native Chilean speakers, interactive quizzes, and spaced‑repetition flashcards to cement retention.
Commit to 15‑minute daily practice sessions. Within two weeks, you’ll be able to navigate basic conversations confidently, which reduces reliance on translation tools and helps you build rapport with locals faster. Track your progress in the SettleBuddy dashboard, which highlights vocabulary gaps and suggests targeted drills.
Handle Health Care and Insurance
Chile’s public health system (FONASA) offers universal coverage, but newcomers often start with private clinics for faster appointments. Schedule a basic health check‑up within the first week to document any pre‑existing conditions and to obtain a local medical record, which will be useful for future insurance claims.
If you plan to stay longer than six months, consider enrolling in a private health insurance plan (ISAPRE) such as Banmédica or Colmena. These plans provide access to private hospitals, shorter wait times, and a broader network of specialists. Compare premiums, coverage limits, and co‑pay structures before committing.
SettleBuddy’s Career AI can recommend health‑benefit packages that align with your employment sector, and its document manager helps you store vaccination records, insurance policies, and emergency contacts securely in the cloud.
Connect with the Expat Community
Building a social network early on eases culture shock and provides practical tips on everything from grocery shopping to weekend hikes. Join local expat groups on platforms like Facebook, Meetup, or the SettleBuddy community forum, where newcomers share recent experiences and organize informal gatherings.
Attend a “Welcome to Chile” meet‑up hosted by the community hub in Providencia. These events often feature bilingual moderators who can answer questions about bureaucracy, recommend reliable service providers, and introduce you to other newcomers who share similar professional backgrounds.
If you have children, seek out international schools or parent‑focused meet‑ups. Many schools offer short‑term enrollment trials, allowing families to evaluate teaching quality, language immersion, and commute distance before making a long‑term commitment.
Organize Essential Documents and Digital Backups
During the first week, gather every critical document—passport, visa page, RUT, rental contract, bank statements, and health insurance cards—into a single physical folder. Label each item clearly and store the folder in a secure, fire‑resistant location within your temporary residence.
Next, create digital copies of each document using a scanner or a high‑resolution phone camera. Upload the scans to a secure cloud storage service (e.g., Google Drive, Dropbox) and enable two‑factor authentication. SettleBuddy’s secure vault feature can encrypt these files, ensuring they remain accessible only to you.
Maintain a running inventory spreadsheet that logs document type, issue date, renewal deadline, and storage location. This habit prevents missed deadlines for visa extensions, tax filings, or rental renewals, and it simplifies the process when you eventually apply for permanent residency or citizenship.
Create a One‑Week Action Timeline
A visual timeline helps you stay on track and reduces the overwhelm of juggling multiple tasks. Below is a concise day‑by‑day checklist that aligns with the sections above, letting you see at a glance what should be accomplished each day of your first week in Chile.
Use this table as a reference when planning your daily schedule. Adjust the order based on personal priorities—if you already have a job offer, you might fast‑track the banking step, for example. The key is to keep momentum and avoid leaving critical items (like visa registration) to the last minute.
| Day | Key Action |
|---|---|
| Day 1 | Pass immigration, get cash, buy SIM, locate information desk |
| Day 2 | Confirm visa type, start RUT registration, schedule bank appointment |
| Day 3 | Open bank account, activate BIP card, explore public transport |
| Day 4 | Secure temporary housing, begin search for long‑term lease |
| Day 5 | Complete health‑care check‑up, compare private insurance options |
| Day 6 | Finish first 5 Language Lab lessons, practice key phrases |
| Day 7 | Join expat meet‑up, organize documents, finalize weekly review |
Where SettleBuddy comes in
SettleBuddy is the AI relocation OS for your whole move — language, visas, housing and career in one place. This part of the move is handled by SettleBuddy: the AI relocation OS for your whole move — language, visas, housing and career.
Explore SettleBuddy →Key takeaways
- Validate your visa status immediately and begin the RUT registration within the first two days.
- Set up a local bank account and prepaid SIM to handle everyday transactions and stay connected.
- Use SettleBuddy’s Housing AI and Language Lab to find suitable accommodation and learn essential Spanish quickly.
- Secure health‑care coverage, either through the public system or a private ISAPRE, early in the week.
- Create both physical and digital backups of all critical documents to avoid future administrative headaches.
FAQ
Do I need a Chilean bank account to receive my salary?
Most employers prefer paying into a local account, so opening one early helps avoid payroll delays. Some multinational firms can transfer directly to foreign accounts, but a Chilean account simplifies tax reporting and everyday expenses.
Can I work on a tourist visa?
No. Chile requires a work visa for any paid activity. If you arrive on a tourist visa, apply for a work visa before the 90‑day limit expires, and consult a licensed immigration attorney for official guidance.
Is public health insurance (FONASA) sufficient for newcomers?
FONASA provides basic coverage, but wait times can be long for specialist appointments. Many expats add a private ISAPRE plan for faster service and broader provider networks, especially during the first year.
How long does it take to obtain a RUT?
The RUT registration process usually takes 1‑2 weeks after submitting documents at the municipal office. Expedited services are available for certain visa categories, but you should start the application as soon as you have a confirmed address.
What’s the best way to learn Spanish quickly after arriving?
Combine daily micro‑learning (15‑minute sessions) with real‑world practice. Language Lab’s relocation‑focused lessons target everyday scenarios, while speaking with locals during grocery trips or transport rides reinforces retention.